Creative DIY Sand Box Ideas with Built-in Toys Storage
Creating a sand box for your children provides endless hours of sensory play and creativity in your own backyard.
When designed thoughtfully, these play spaces can also solve the perennial challenge of toys storage, keeping outdoor playthings organized and protected from the elements.
This comprehensive guide explores 15 innovative DIY sand box projects that cleverly integrate storage solutions, allowing you to maximize play value while minimizing clutter.
From simple weekend builds to more ambitious projects, these ideas suit various skill levels, space constraints, and budgets.
Let’s dive into these practical yet imaginative sand box creations that will delight your little ones while keeping their outdoor play area tidy and functional.
1. Convertible Bench Sand Box
Build a rectangular wooden frame with hinged lid sections that fold out into benches when open, providing seating for kids while playing.
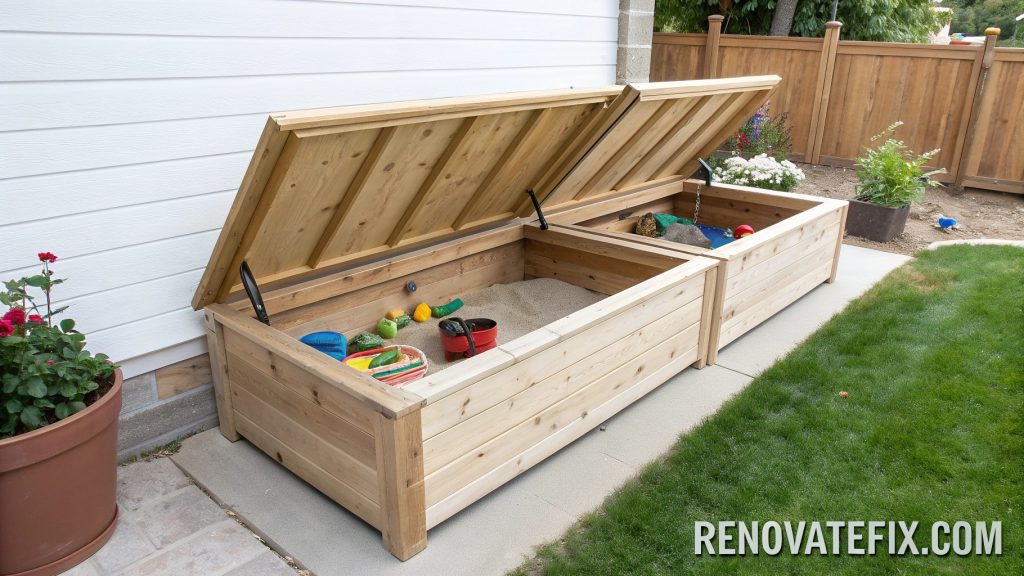
Upon closing, these bench tops create a sealed cover protecting sand from weather and animals.
Hidden compartments beneath each bench offer discrete storage space for shovels, buckets, trucks, and molds when not in use, eliminating playground clutter entirely.
Parents appreciate this dual-purpose design that maximizes backyard space efficiency.
2. Boat-Shaped Play Haven
Construct a boat-shaped sand box using weather-resistant lumber, complete with bow and stern detailing for nautical charm.
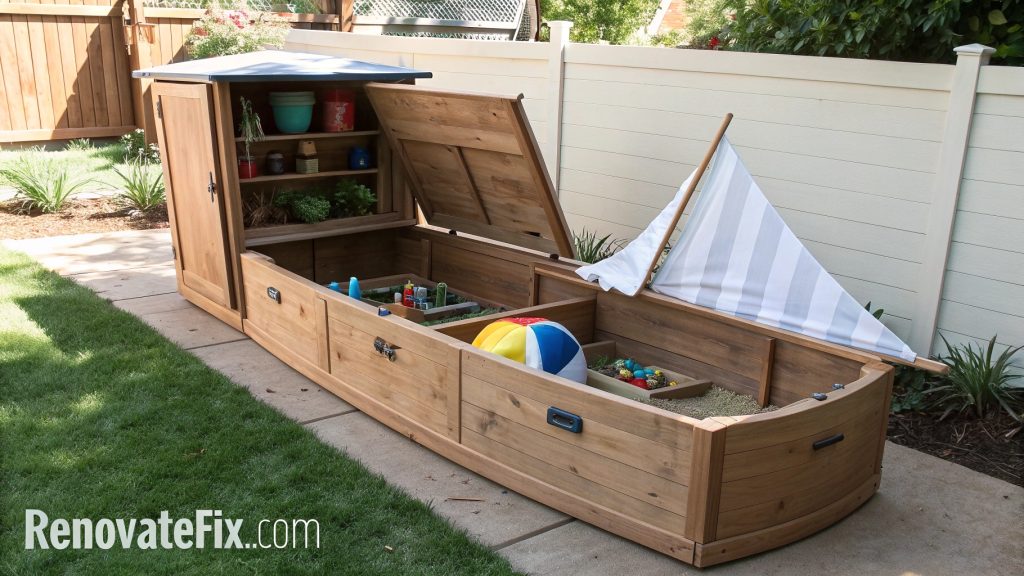
Built-in cabinets resembling cargo holds line both sides of this vessel, perfect for stowing away beach toys, water play items and sand molds after playtime adventures.
A canvas sail overhead provides shade during sunny afternoons while adding to the seafaring aesthetic that sparks imaginative play scenarios for young captains.
3. Railroad Tie Border Creation
Arrange pressure-treated railroad ties in a square or rectangular formation, securing corners with metal brackets for stability and durability through seasons.
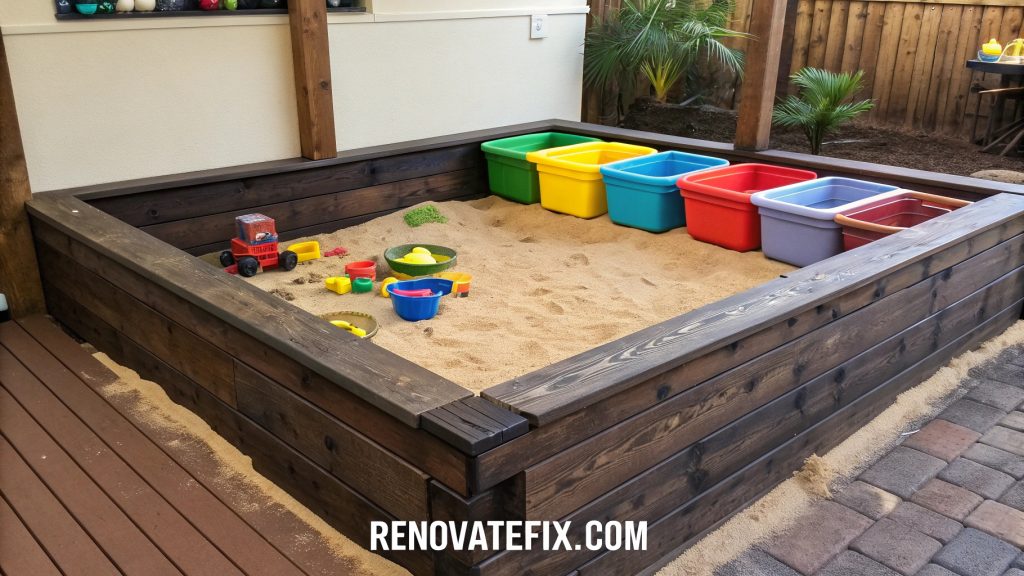
Around the perimeter, install small cubbies made from weather-resistant plastic bins tucked between ties at regular intervals, each designated for different categories of play equipment.
Children can easily access sand tools while learning organizational skills through this system of labeled containers integrated seamlessly into the rugged border design.
4. Tractor Tire Repurpose Project
Obtain a large tractor tire, clean thoroughly, paint in vibrant colors, and place on level ground filled with play sand.
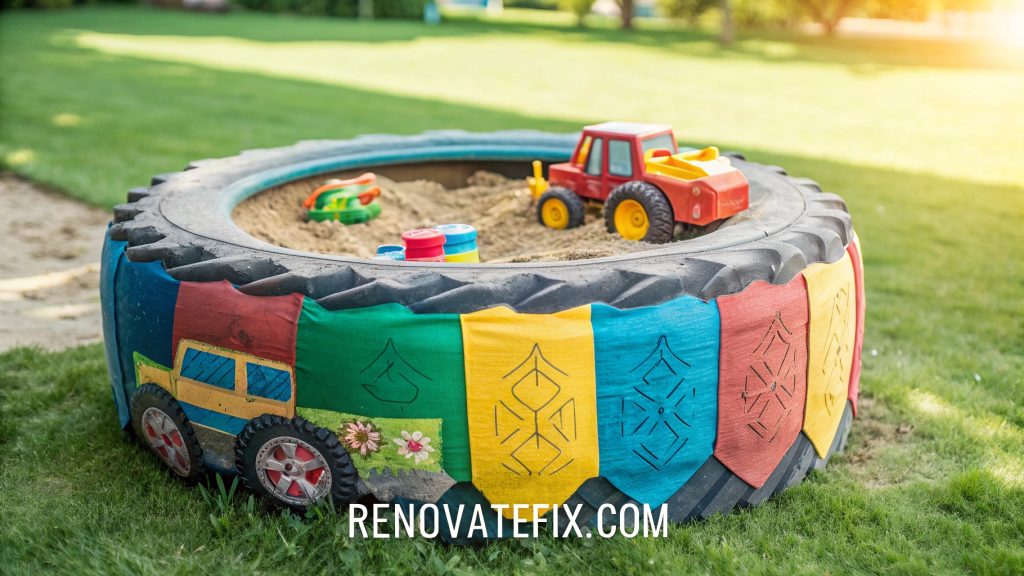
Drill drainage holes in the bottom, then attach fabric pockets around the outer circumference using heavy-duty outdoor fabric and industrial staples.
These hanging pouches provide accessible storage solutions for sand tools while adding visual interest through contrasting fabric patterns that withstand weather exposure and frequent use by small hands.
5. Tree Stump Surround Design
Arrange flat-topped tree stumps of varying heights in a circle, partially buried for stability, with a fabric-lined excavation filled with clean play sand centered within this natural border.
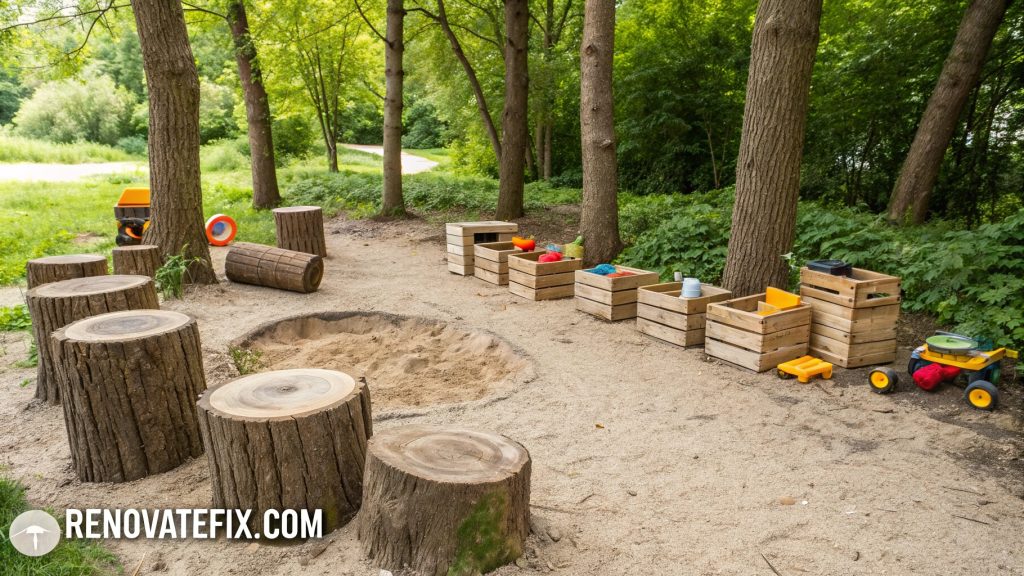
Between selected stumps, affix wooden crates horizontally, creating cubby spaces perfectly sized for organizing sand molds, trucks, watering cans and other outdoor playthings.
This organic playground element blends harmoniously with garden landscapes while providing practical play and storage functionality.
6. Pallet Upcycle Square
Repurpose wooden pallets to form a square frame, sanding edges smooth and treating wood with child-safe sealant for longevity outdoors.
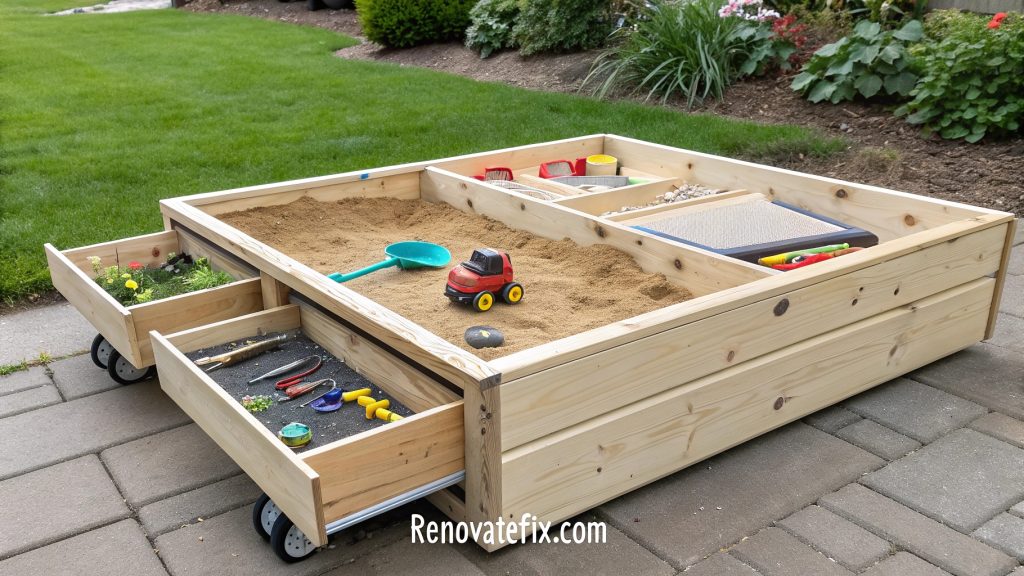
Modify one pallet section to contain pull-out drawers on caster wheels that slide beneath the sand area when not in use.
Line drawers with mesh bottoms allowing excess sand to fall through while keeping toys clean, organized, and readily available for next playtime without cluttering the yard.
7. Rolling Lid Innovation
Build a simple square frame using pressure-treated lumber, adding a track system along the top edges.
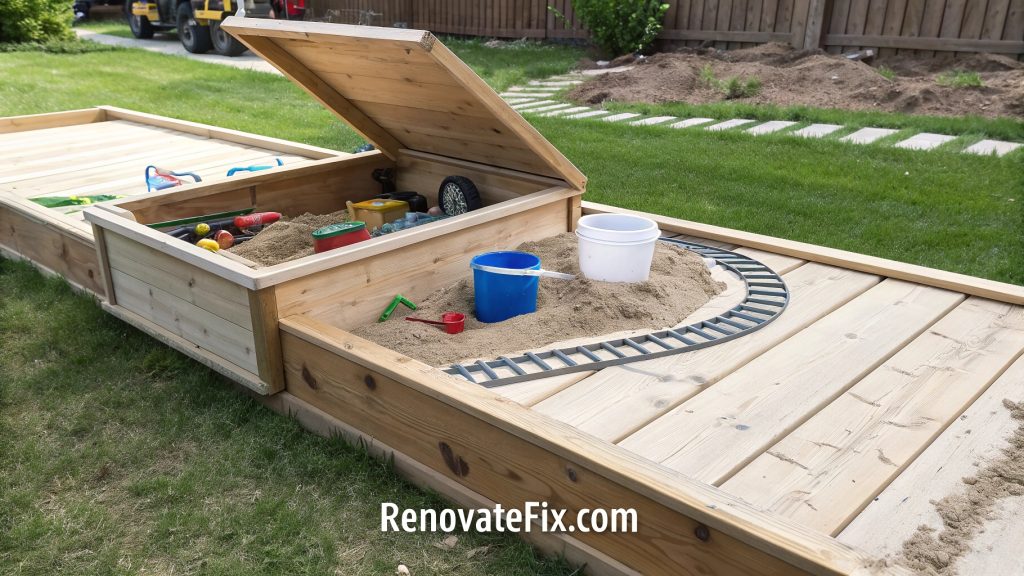
Construct a rolling lid that slides along these tracks, revealing the sand play area when open.
On the underside of this movable cover, mount deep plastic bins using strong brackets, creating suspended storage that hangs above the sand when closed.
Kids can access toys by sliding the lid partially open, maintaining sand cleanliness while maximizing play space.
8. Hinged Octagon Formation
Create an octagonal frame using angled lumber cuts, adding visual interest to your backyard play area.
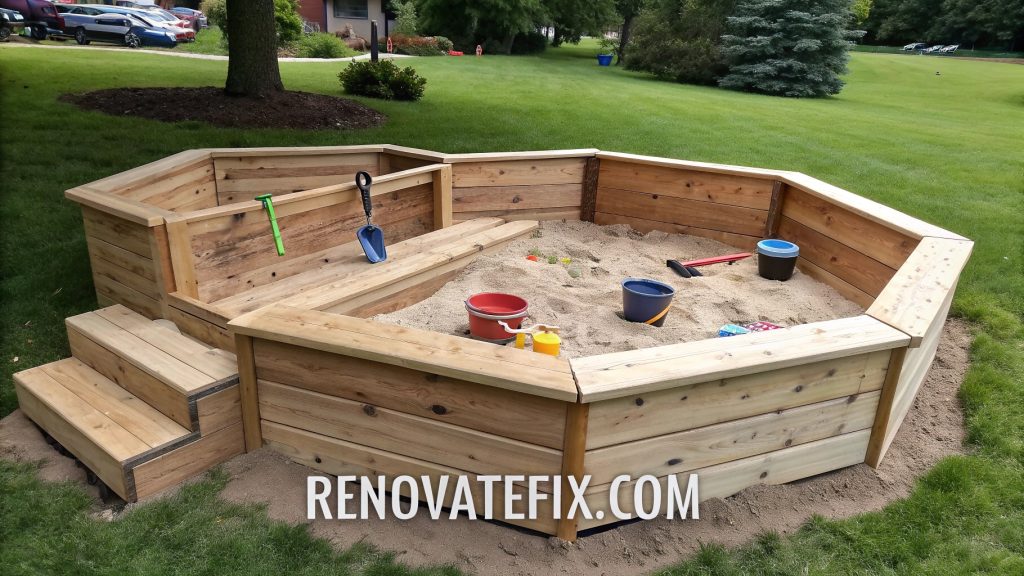
Along four alternating sides, build hinged bench seats that lift up to reveal generous storage compartments underneath.
Cover interior walls with waterproof lining before filling with play sand, ensuring durability against moisture.
Children benefit from both comfortable seating during play and accessible toy organization within arm’s reach at every other side of this geometric construction.
9. Window Box Adaptation
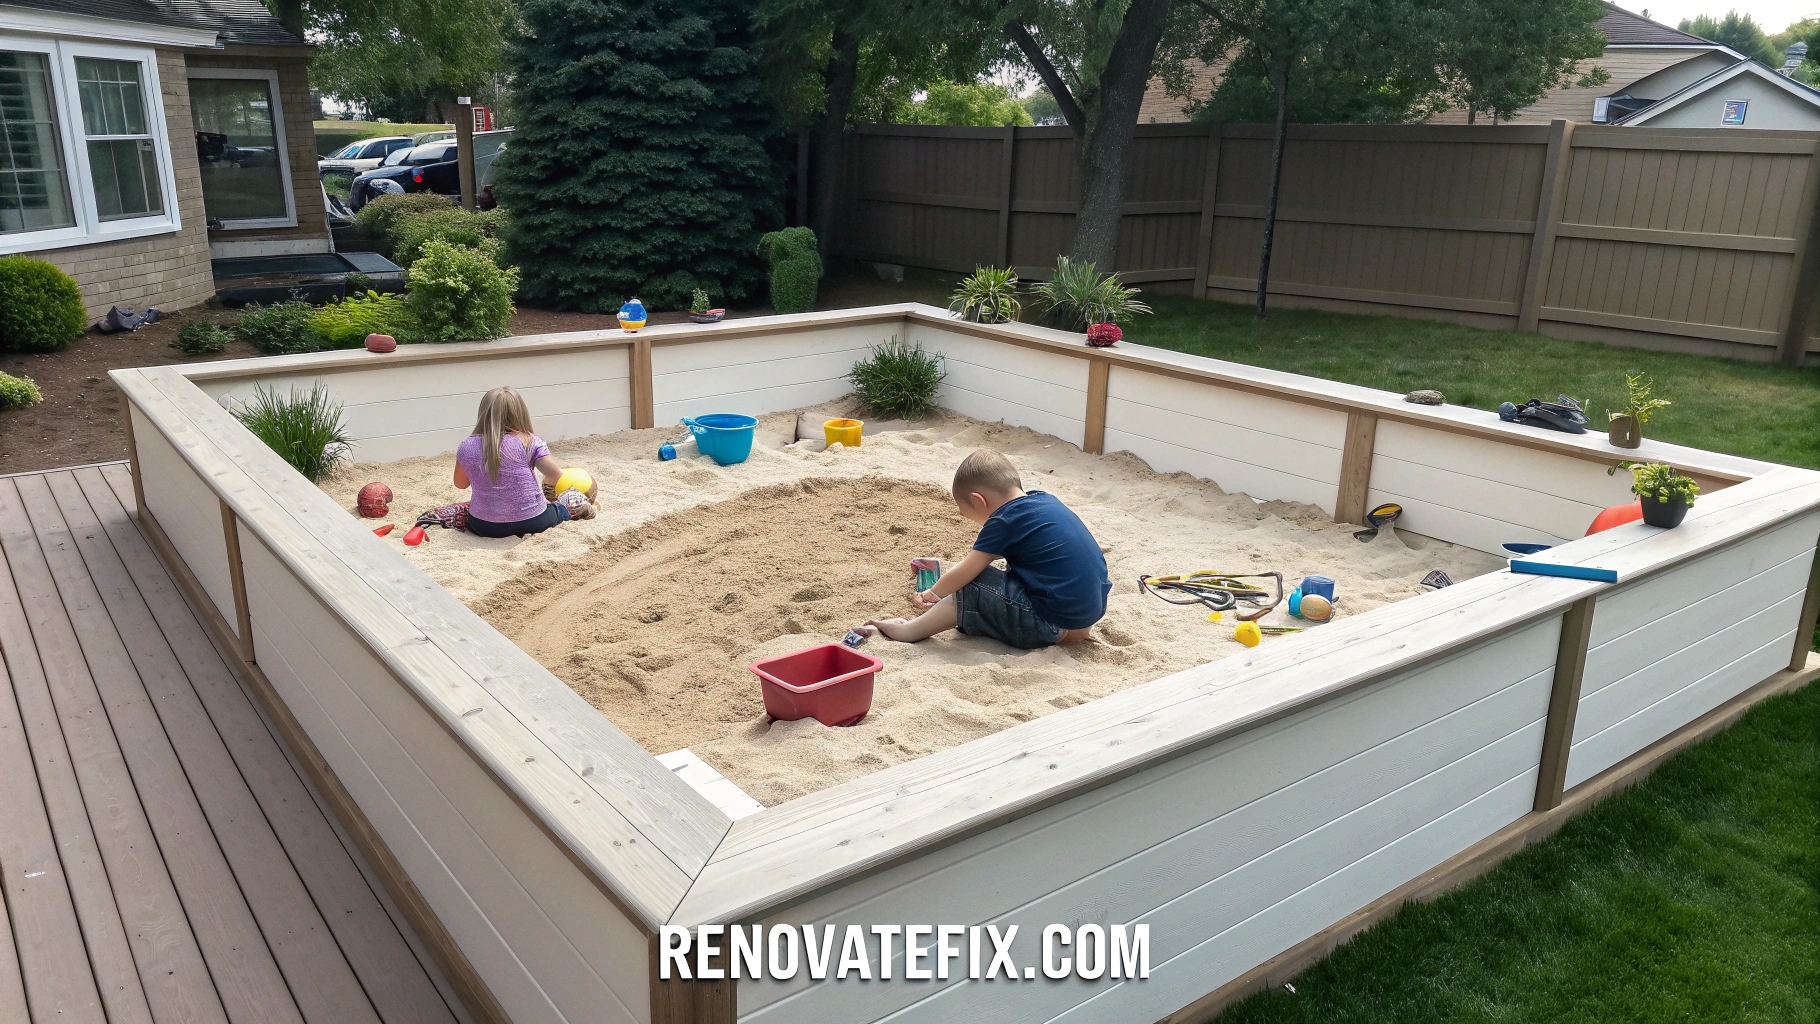
Construct a raised rectangular sand box with wide edges resembling oversized window boxes around all four sides.
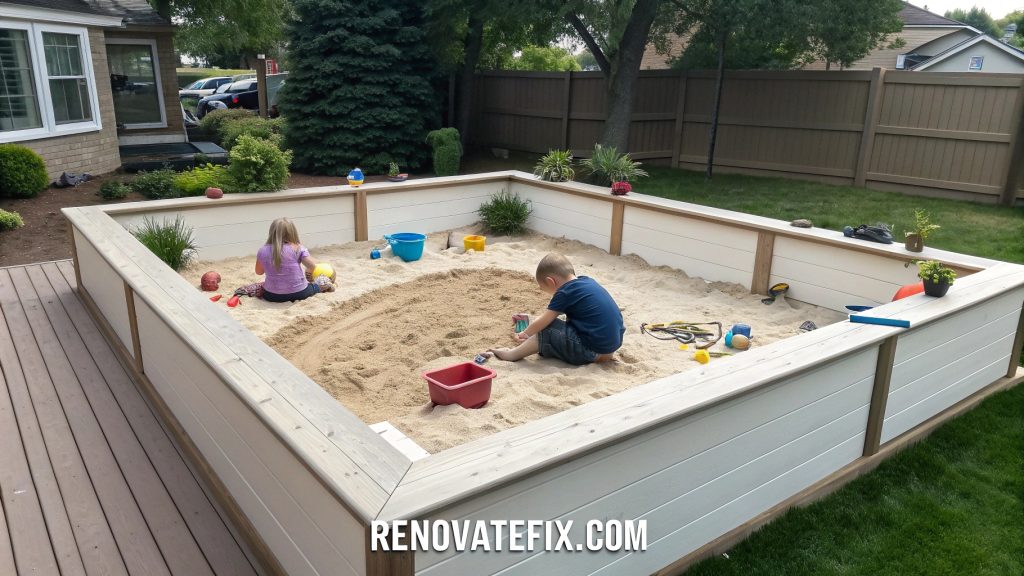
Fill the center with play sand while reserving the perimeter planters for toy storage rather than plants.
Install drainage holes in storage sections and line with mesh to prevent water accumulation while allowing sand to filter through from toys after use.
This innovative border doubles as both seating and organizational space in one cohesive design.
10. Corner Space Maximizer
Design a triangular sand box that fits snugly into a yard corner, utilizing previously unused space efficiently.
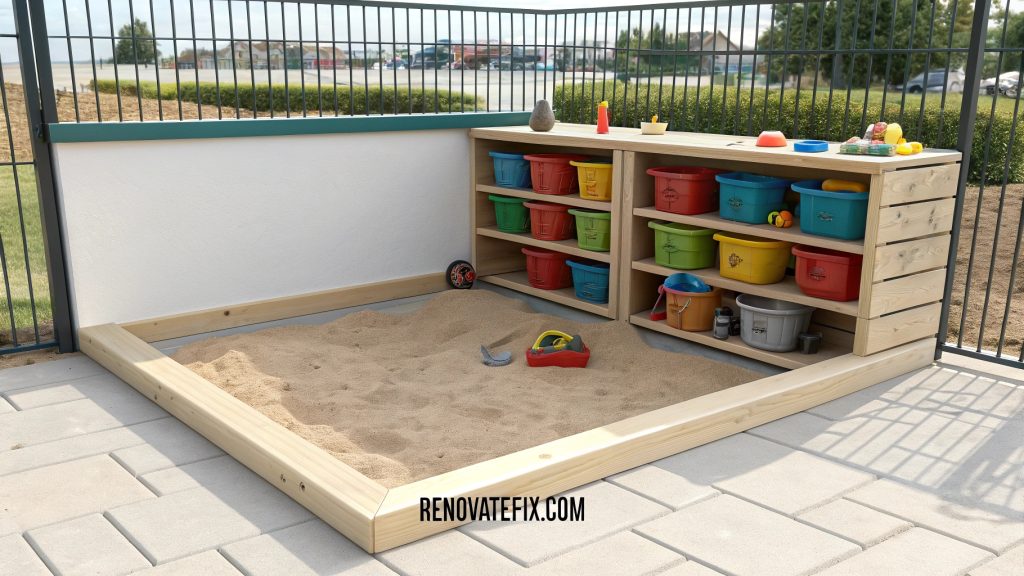
Build raised edges on two sides against fences or walls, integrating tiered shelving units with individual bins for various sand play accessories.
Add a removable cover that slides diagonally for protection during rainy periods or when play concludes.
Parents appreciate this space-saving solution that keeps toys contained without sacrificing valuable open yard area.
11. Pirate Chest Discovery
Construct a large rectangular box resembling a treasure chest, complete with curved top and decorative elements.

Build the lid with hydraulic supports for safe operation, allowing it to remain partially open during play.
Around the interior perimeter, install a raised ledge with subdivided sections for organizing different types of sand toys.
Add rope handles and authentic-looking metal accents to enhance the treasure theme while providing practical storage solutions that inspire adventurous play scenarios.
12. Modular Cube System
Build multiple wooden cubes approximately 24 inches square, arranging several in a cluster to contain sand while designating others specifically for toy storage.
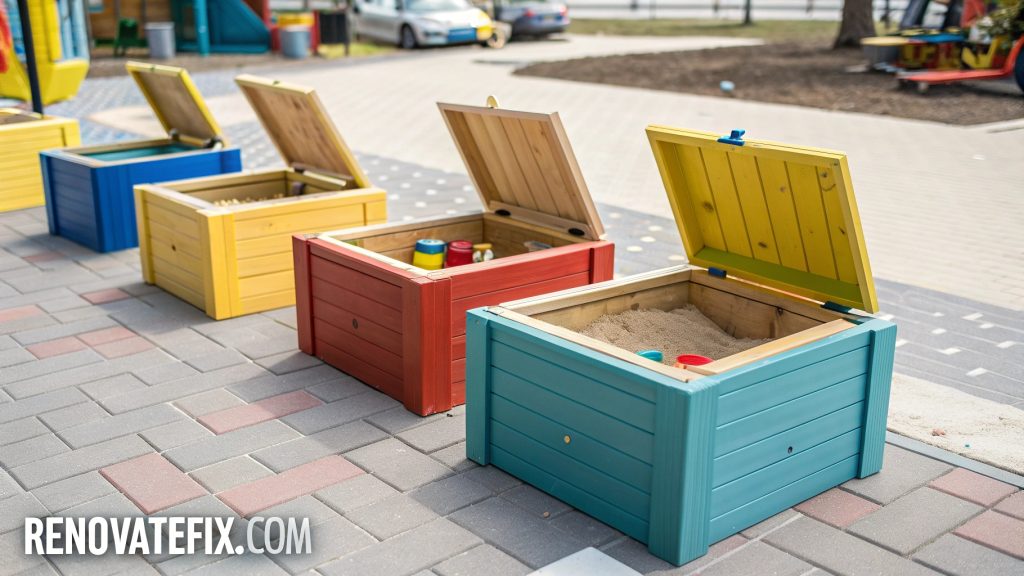
Connect units with hidden brackets, allowing reconfiguration as needs change. Cover storage cubes with hinged lids painted in bright colors, coding each for different toy categories.
Children learn organizational skills while enjoying the flexibility of this expandable play system that grows with your family needs over time.
13. Built-in Water Channel
Construct a rectangular sand box with a narrow water channel running along one side, separated by a small wooden divider but connected at certain points.
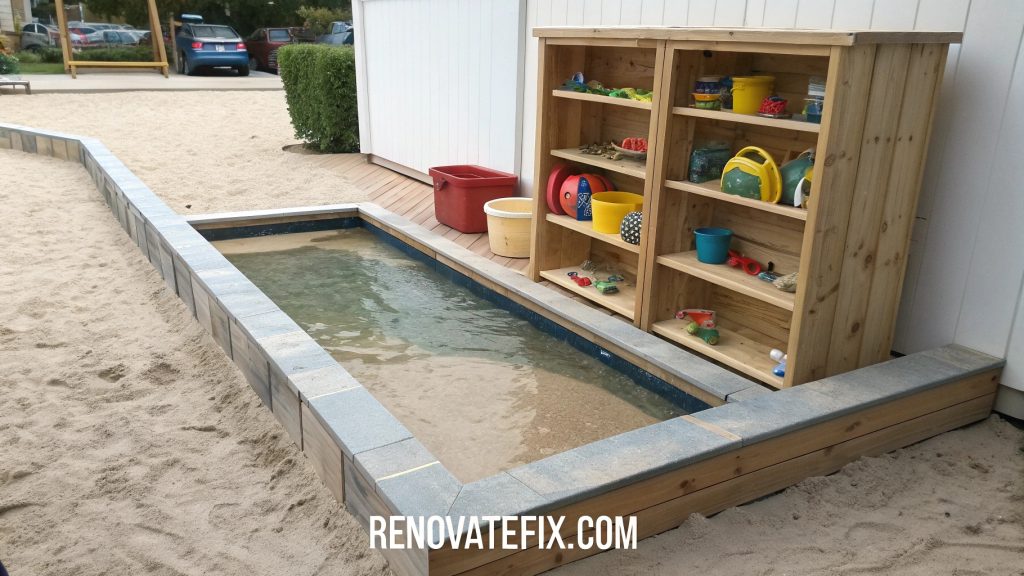
Build a shelving unit at one end with designated spots for buckets, water wheels, boats, and sand molds, protected by a small overhang preventing weather damage.
This combination encourages both sand and water play while keeping accessories organized in purpose-built nooks adjacent to the play area.
14. Deck Integration Project
For elevated decks, create a sand box that fits between support beams beneath the structure, utilizing otherwise wasted space.
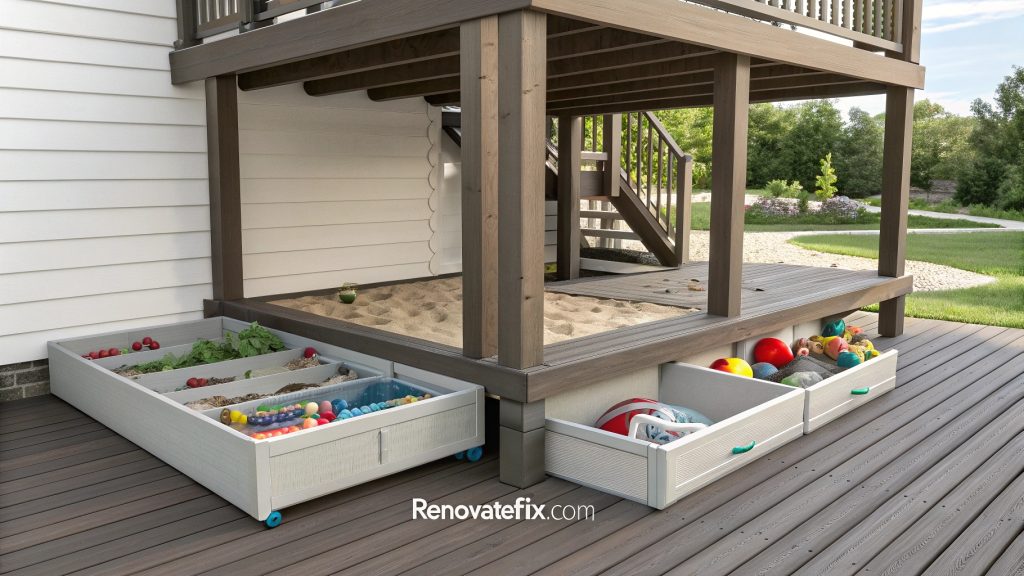
Build sliding panels that pull out from under the deck, each containing different categories of outdoor toys accessible from the play area.
Add rope pulls to these panels so children can independently retrieve and return items.
This clever use of vertical space keeps the yard uncluttered while providing substantial sand play opportunities in partially shaded comfort.
15. Circular Hub Design
Create a round sand box with a raised center island resembling a hub, connected to the outer rim by “spoke” dividers that create wedge-shaped sand play sections.
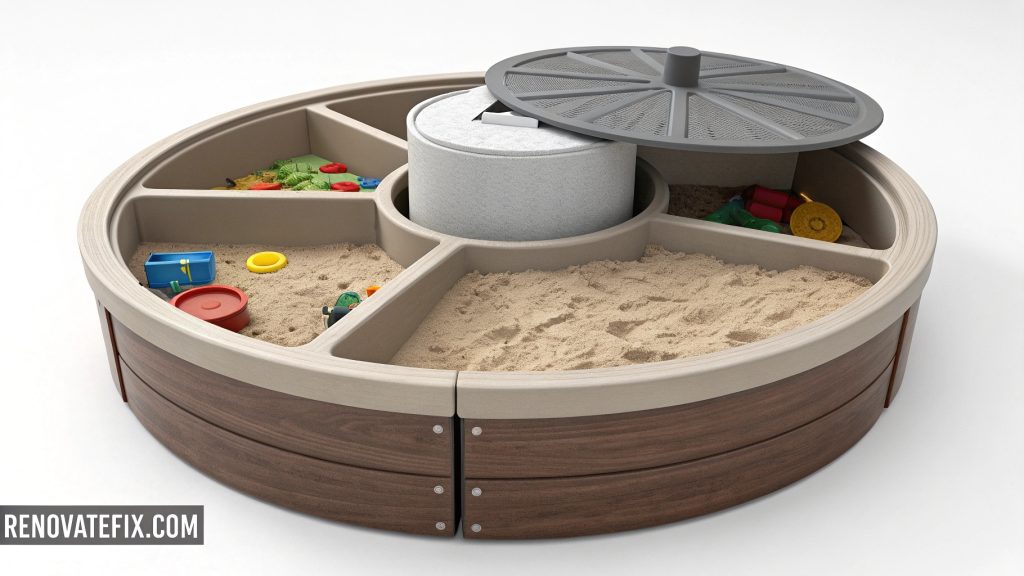
The central hub features a removable lid revealing deep storage space for larger toys, while small compartments built into the outer rim hold smaller items like sand molds and hand tools.
This wheel-inspired design promotes sharing among multiple children while maintaining organization through dedicated storage zones within arm’s reach.
Conclusion
These 15 DIY sand box projects demonstrate how thoughtful design can seamlessly integrate play spaces with practical storage solutions for outdoor toys.
By building these multifunctional structures, you’ll create not only hours of engaging sensory play for your children but also maintain backyard organization that makes cleanup time simpler and more efficient.
Whether you have limited space, specific aesthetic preferences, or particular storage needs, these ideas offer adaptable blueprints that can be customized to suit your family’s unique requirements.
The combination of creative play opportunities with smart storage innovations makes these projects worthwhile investments in your outdoor living space, providing years of enjoyment while teaching children valuable organizational habits from an early age.

