Brilliant Craft Room Ideas to Maximize Your Creative Space
Creating a dedicated space for your artistic pursuits provides both functionality and inspiration.
A well-organized craft room can dramatically improve your creative process, making supplies accessible and projects more enjoyable. Whether you have an entire room or just a corner to work with, thoughtful planning can transform any space into a productive crafting haven.
In this guide, we’ll explore 23 innovative craft room ideas that combine practicality with style, helping you build a personalized studio that inspires your best work every day.
1. Pegboard Wall Organization
Maximize vertical space by installing a full pegboard wall for hanging various tools, scissors, rulers, and small containers.
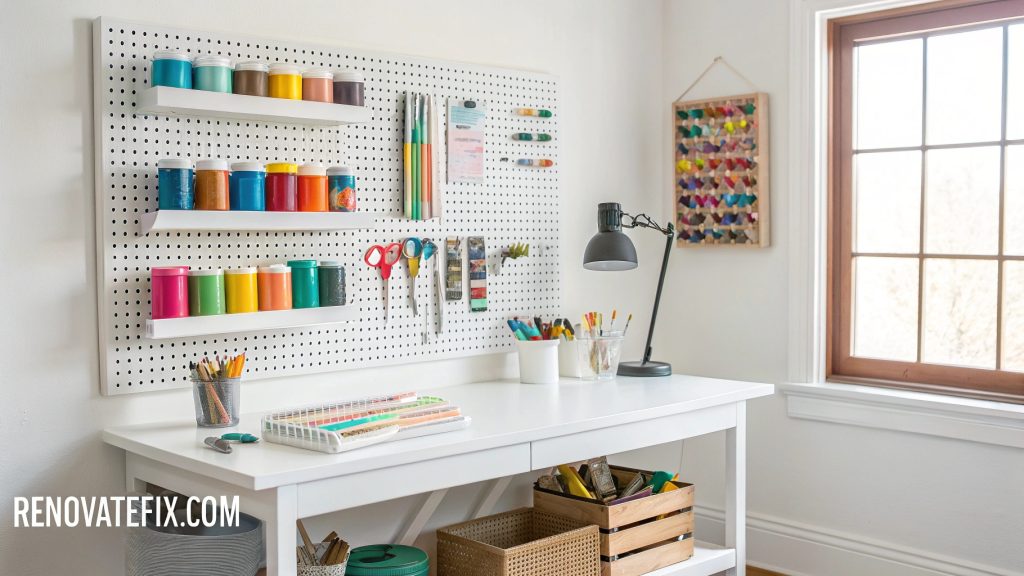
Paint it in a favorite accent color to add visual interest while maintaining order among frequently used items.
Movable hooks allow for changing configurations as projects and supplies evolve over time.
This adaptable system keeps everything visible at a glance while freeing up valuable tabletop space for active work.
2. Rolling Storage Cart System
Invest in multi-tiered carts on wheels that can glide anywhere your creativity takes you.
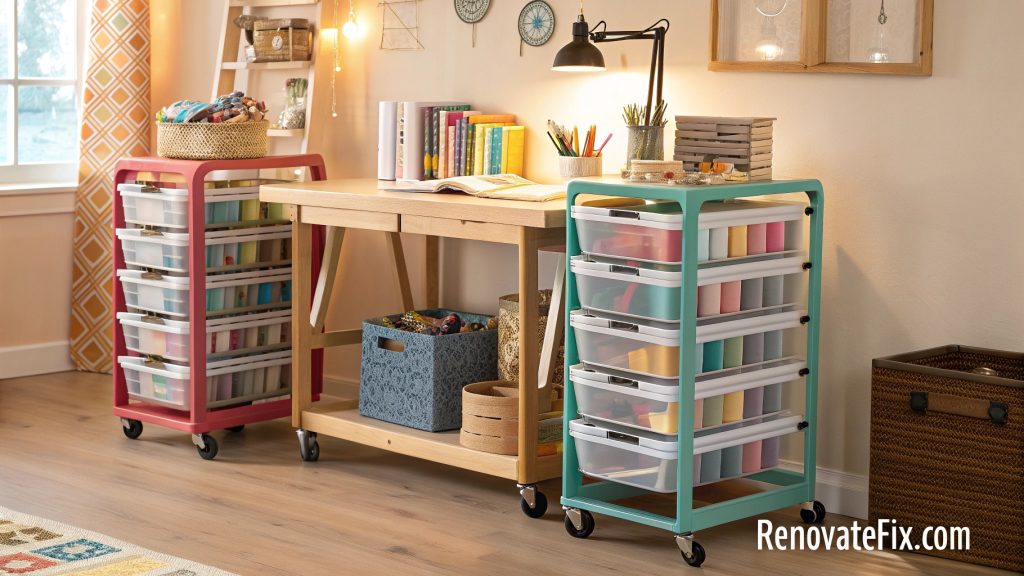
Dedicate each level to different materials—top drawer for current projects, middle for frequently accessed supplies, bottom for bulkier items rarely needed.
These mobile assistants position essential tools exactly where required, then tuck away neatly when not in active use.
Their compact footprint makes them perfect for smaller spaces requiring adaptability.
3. Corner Desk Arrangement
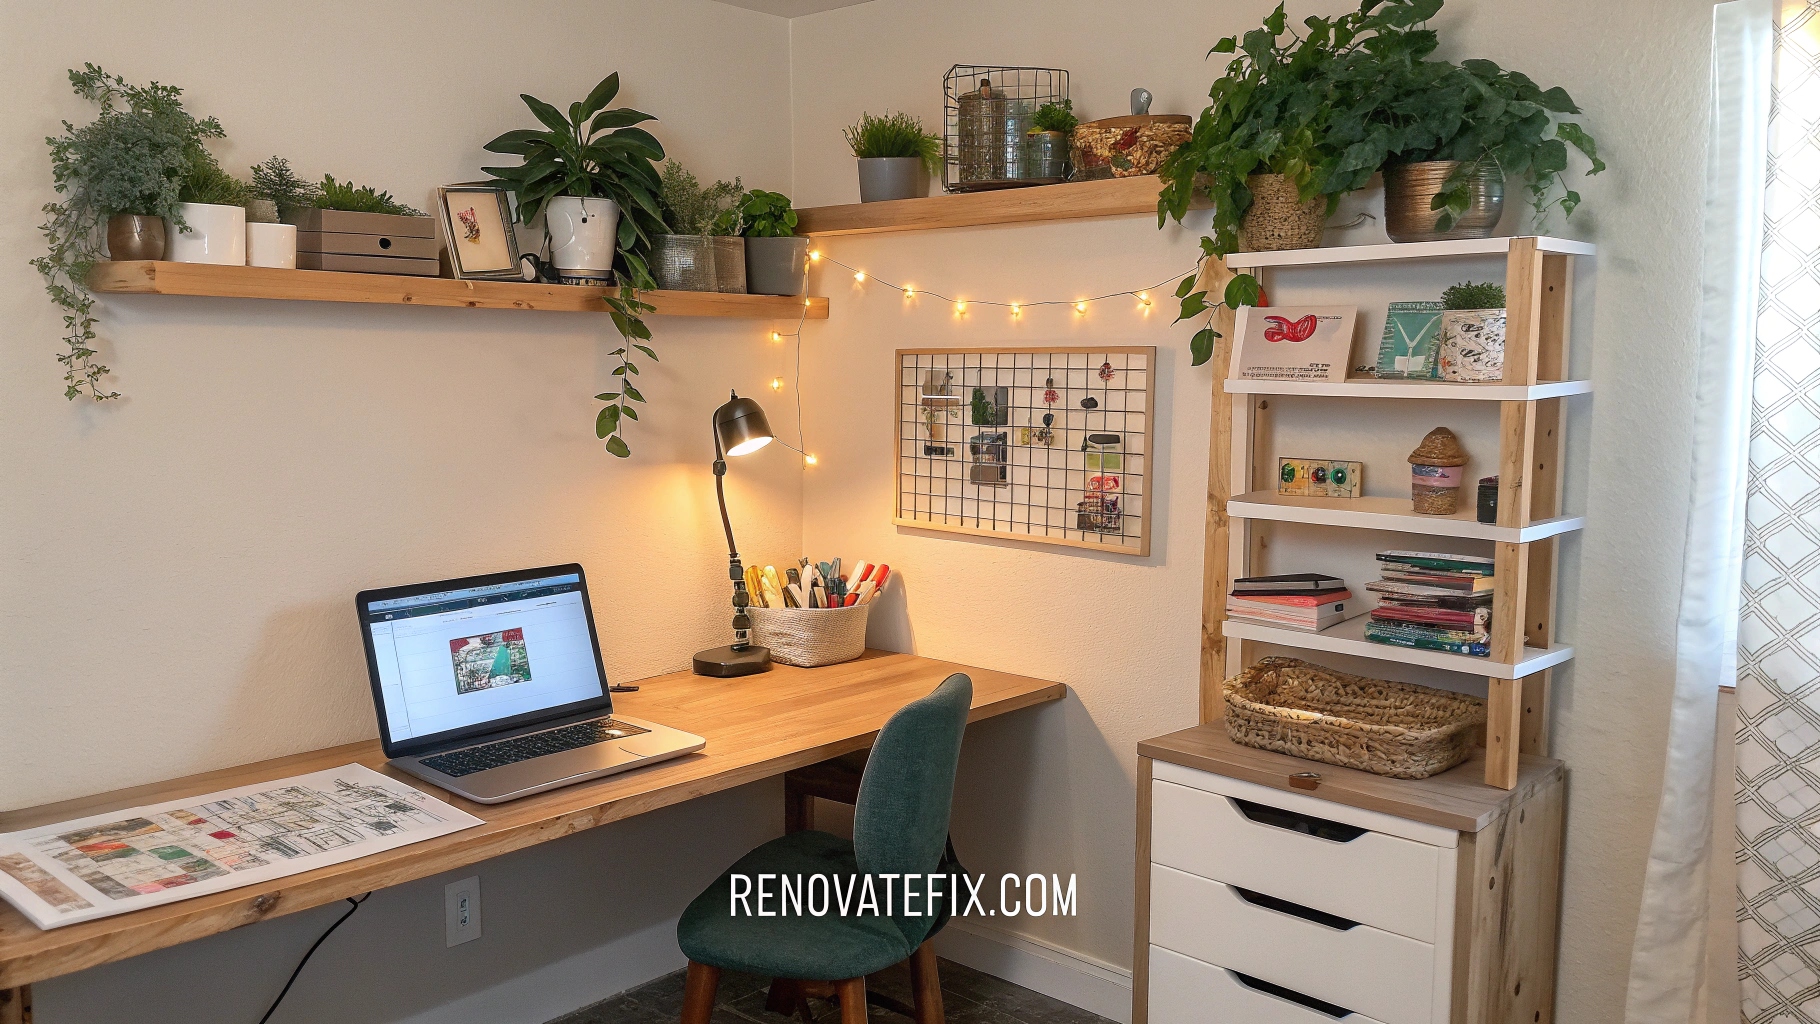
Utilize awkward corners by installing L-shaped desks that maximize otherwise wasted space while creating distinct zones for different activities.
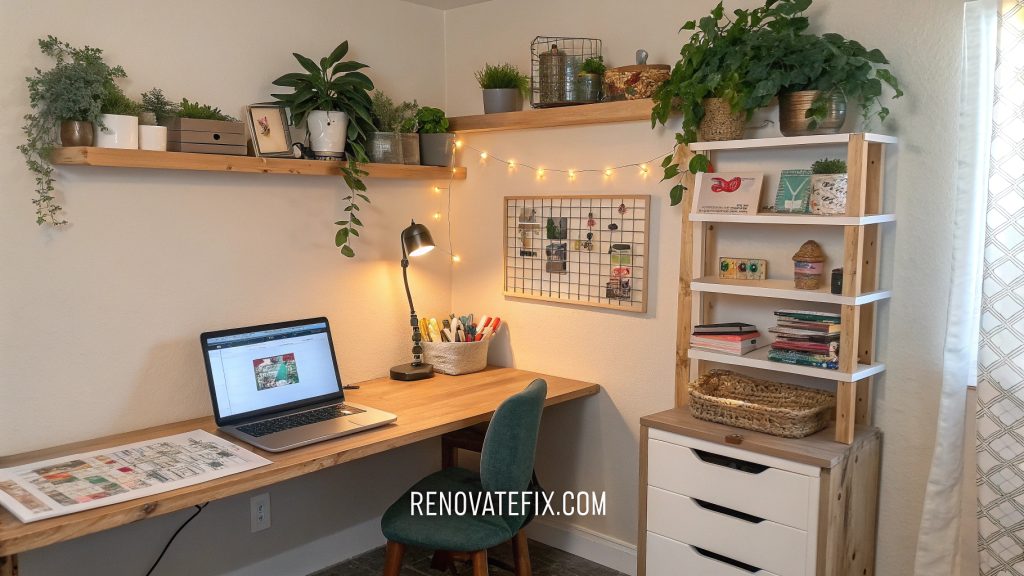
Position one side for computer work, planning, or sketching, while reserving the adjacent surface for hands-on creating and assembly.
This thoughtful configuration doubles usable workspace without requiring additional square footage.
Proper placement creates an ergonomic workflow minimizing unnecessary movements.
4. Open Shelving Solutions
Mount simple wooden or metal shelves along walls to showcase beautiful supplies while keeping them within arm’s reach.
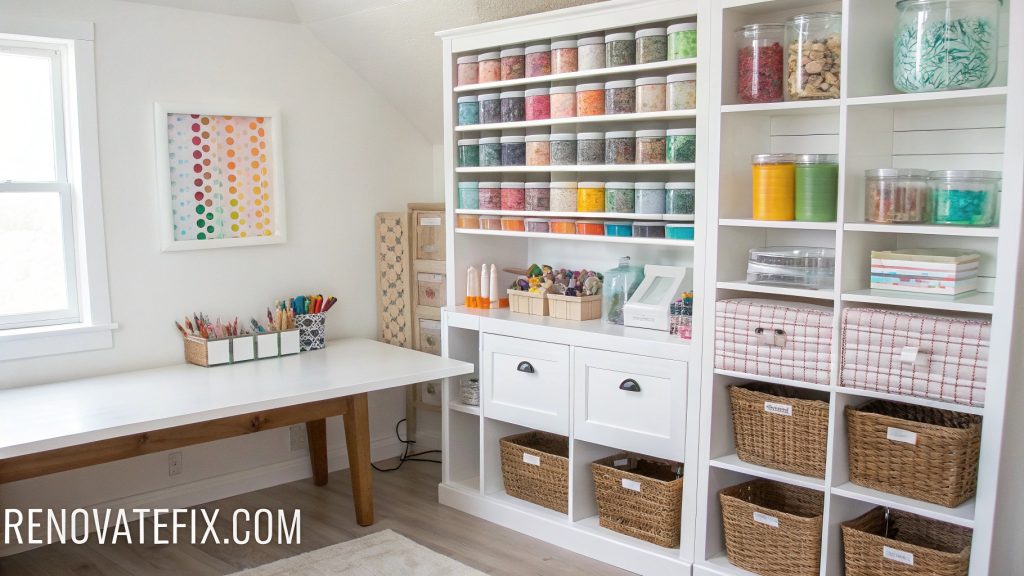
Arrange materials by color for an aesthetically pleasing display that doubles as practical storage and visual inspiration.
Adjustable heights accommodate varying container sizes from small jars to large baskets holding fabric or yarn.
This approach balances accessibility with orderly presentation of your creative arsenal.
5. Multi-functional Worktable
Place a large central table with adjustable height features to facilitate both standing and sitting work sessions.
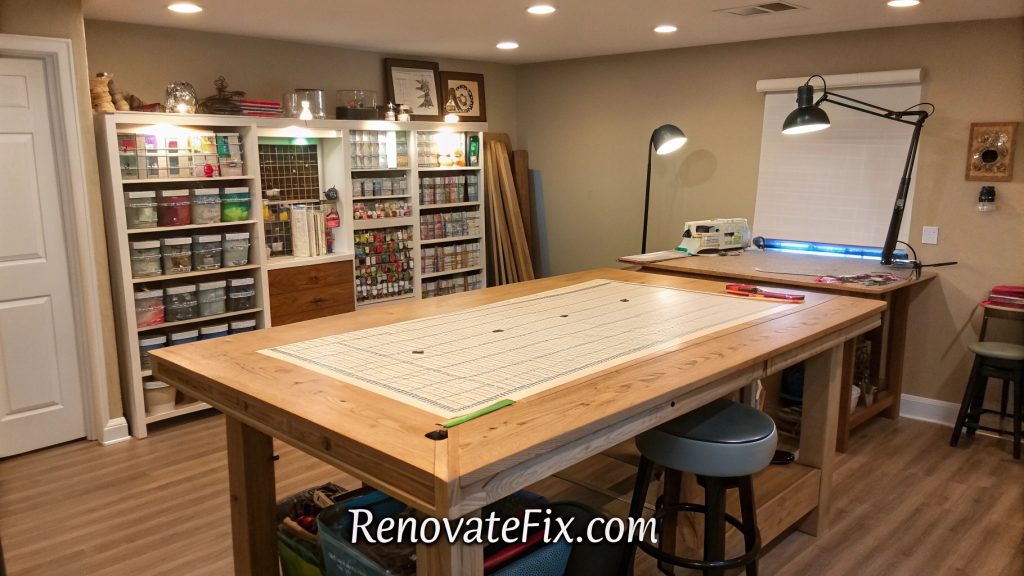
Add built-in power strips for tools, plus embedded measuring guides on the surface for precise cutting and alignment.
Select durable materials that withstand heat, cuts, and stains from various projects.
The generous dimensions allow multiple activities or collaborative sessions simultaneously.
6. Sewing Station Setup
Construct a dedicated area with recessed spaces for machines to sit flush with worksurfaces, generous cutting mats, and nearby thread storage organized by color.
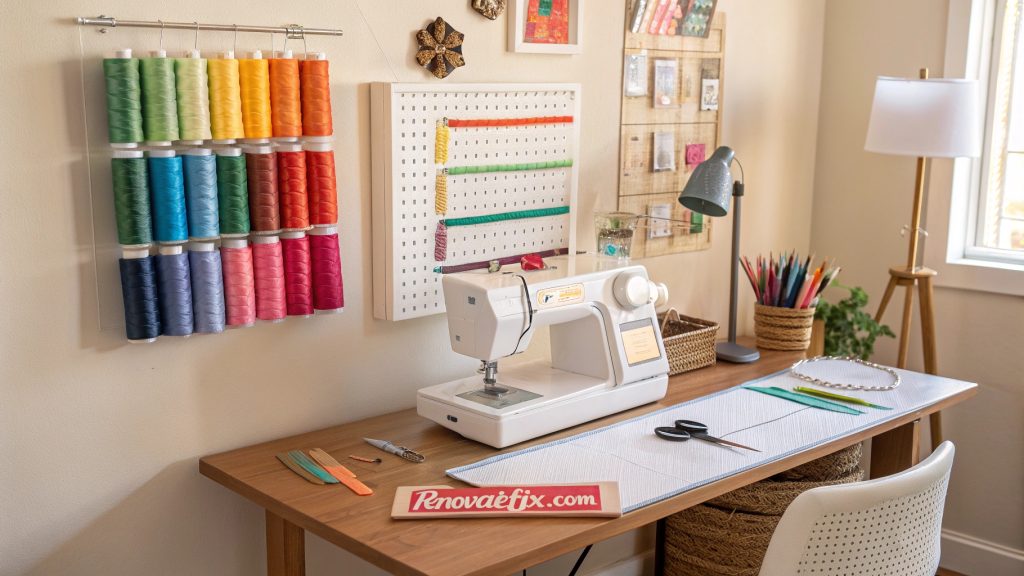
Position this zone near electrical outlets with proper task lighting directly above working areas.
Surrounding wall space hosts pattern holders and inspiration boards displaying current designs.
Every element carefully considers the unique workflow of fabric projects.
7. Color-coded Supply Bins
Organize materials by project type or medium using transparent containers with bold, colorful labels for instant visual recognition.
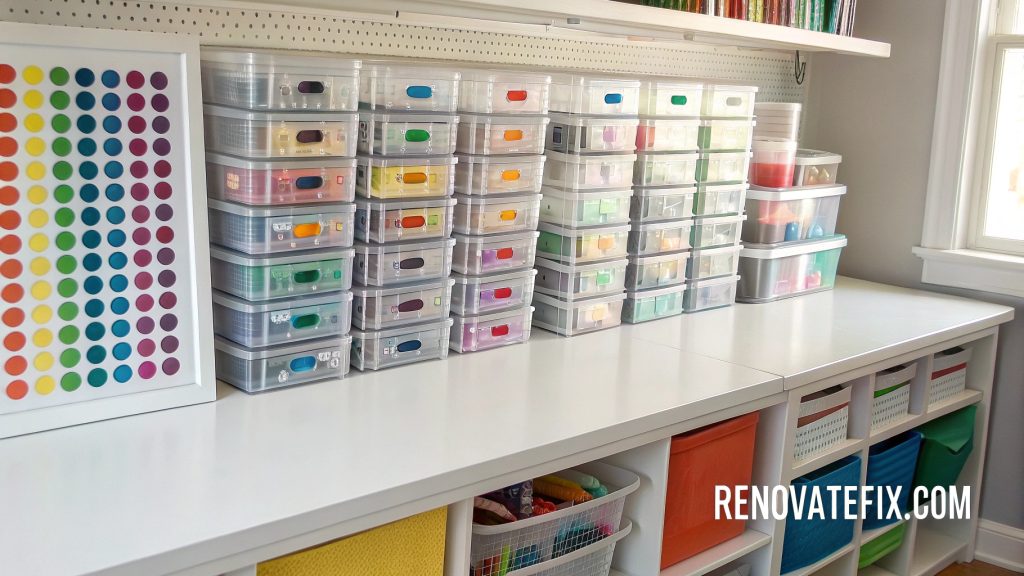
Reserve specific hues for each category—purple for paper crafts, blue for painting supplies, green for natural materials—creating an intuitive system.
Stack uniform bins vertically on sturdy shelving to maximize floor space while maintaining easy access.
Regular purging keeps collections manageable.
8. Hanging Tool Display
Suspend frequently used implements from ceiling-mounted racks using S-hooks, magnetic strips, or custom holders that showcase beautiful tools as functional art.
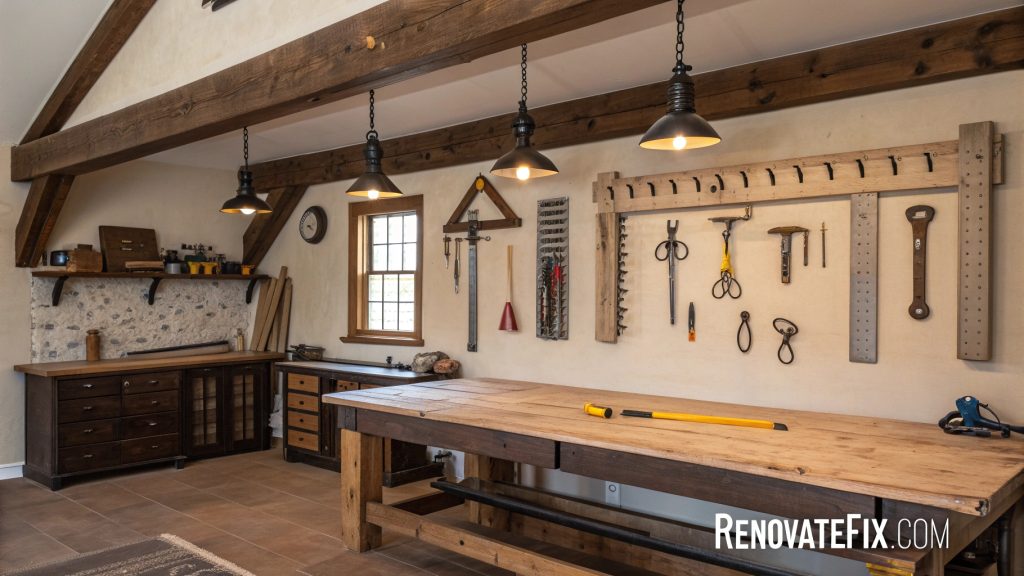
Position directly above primary work areas for quick access during inspired moments.
This arrangement frees valuable drawer and surface space while keeping essential items visible yet protected.
Choose display methods suited to each tool’s weight and frequency of use.
9. Window Nook Creation
Position your creative station directly beside natural light sources, adding a comfortable cushion for extended crafting sessions.
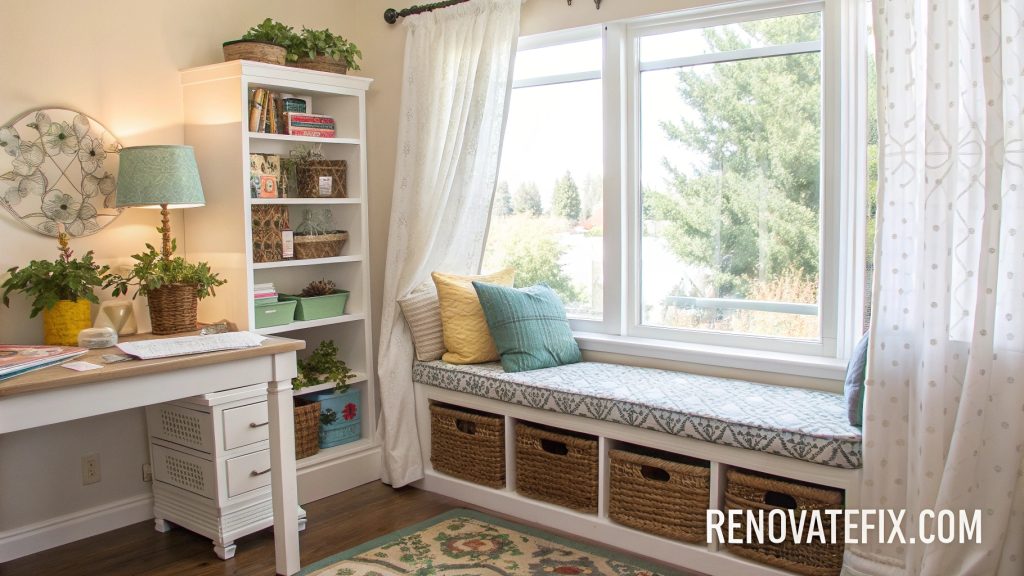
Install adjustable blinds to control brightness and glare throughout changing daylight hours.
Surrounding shelves hold plants and inspiration pieces that benefit from sunlight exposure.
This arrangement maximizes vitamin D while working, enhancing mood and color perception during detailed tasks.
10. Repurposed Cabinet Storage
Convert kitchen or office cabinetry into specialized craft storage by adding custom inserts designed for specific supplies.
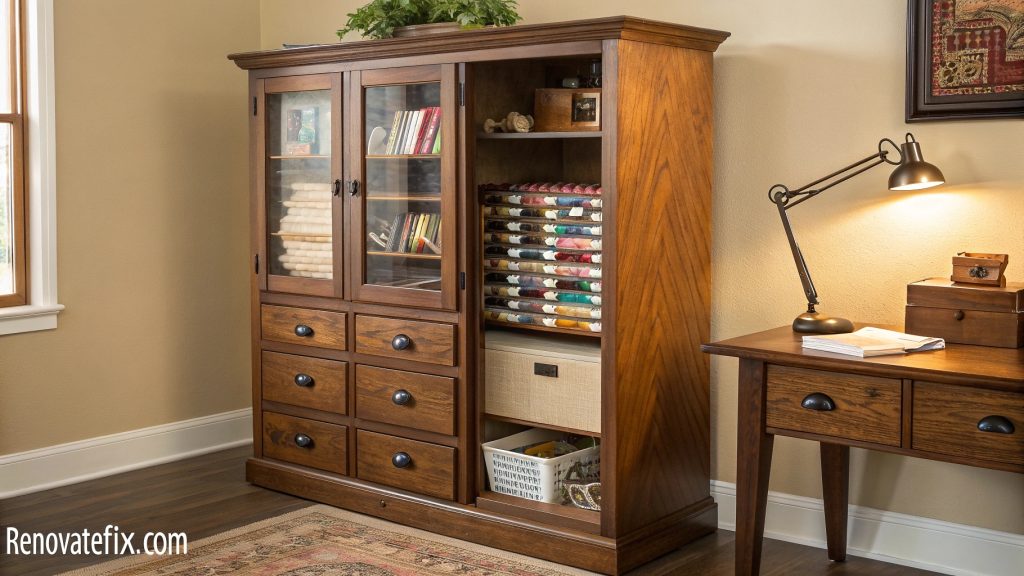
Modify drawers with dividers sized perfectly for small items like beads, buttons, or stamps.
Replace solid doors with glass fronts to display colorful collections while protecting from dust.
These substantial pieces provide significant storage volume without requiring construction or permanent modifications to rental spaces.
11. Vertical Paper Organizer
Install wall-mounted sorters with individual slots for storing papers by size, weight, or color without folding or creasing delicate materials.
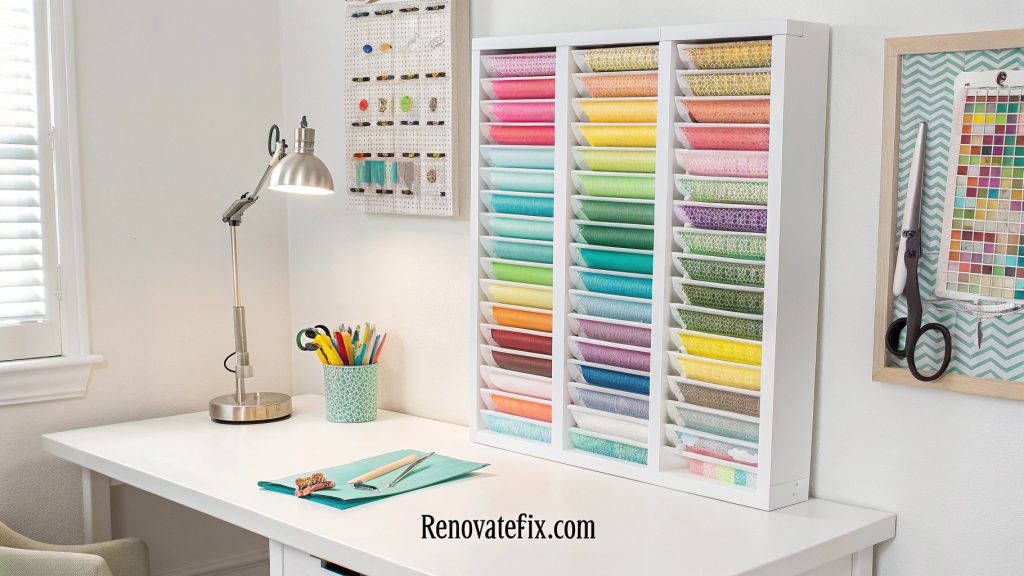
Position above or alongside primary work surfaces for quick selection during creative flow.
Angled compartments prevent slipping while clearly displaying available options at a glance.
This system maximizes floor space utilization while protecting valuable papers from damage.
12. Fold-down Workspace
Mount a wall-attached surface that deploys when needed and folds flat against the wall when not active, ideal for apartments or multi-purpose rooms.
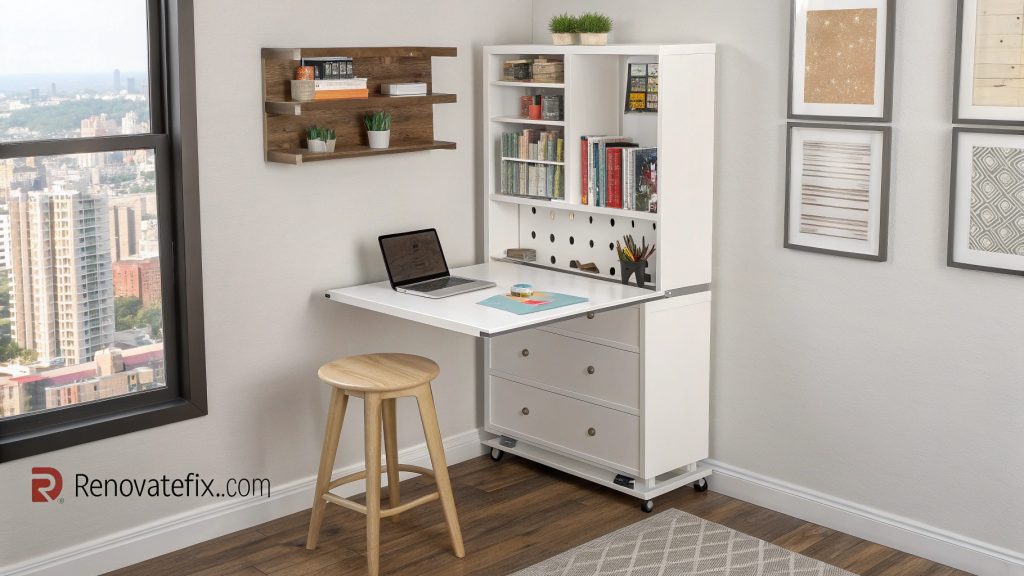
Add built-in storage pockets on the underside to hold frequently used tools that automatically position themselves within reach during work sessions.
Select sturdy hinges and supports rated for your typical projects’ weight. Simple locking mechanisms secure it safely in both positions.
13. Ceiling Track Lighting
Install adjustable rail systems overhead with movable spotlight fixtures that direct focused illumination exactly where needed for current projects.
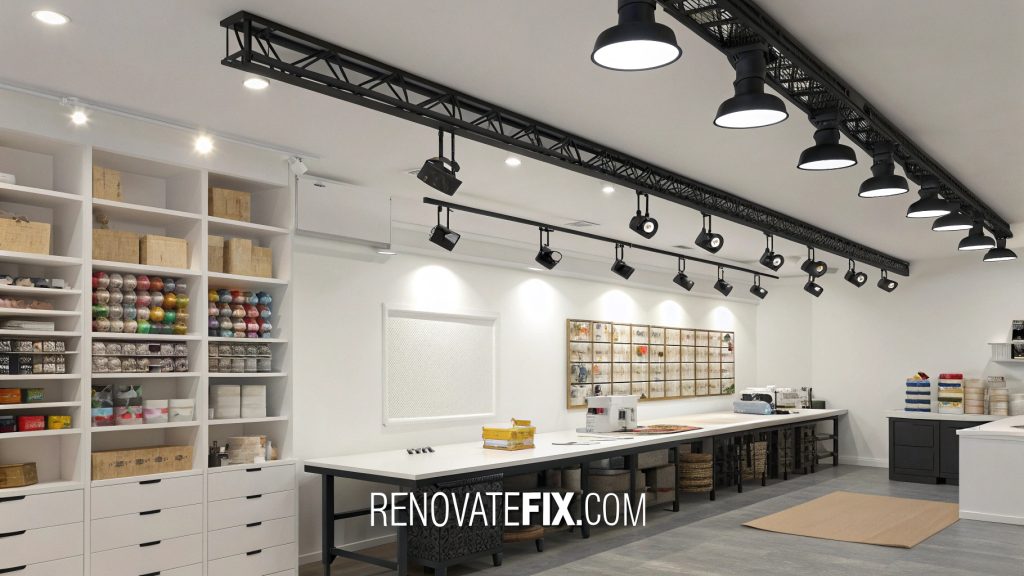
Position tracks parallel to primary work surfaces with fixtures that swivel and aim at various angles.
Daylight-balanced bulbs reduce eye strain during color-matching or detailed work.
This approach eliminates shadows from hands during intricate tasks while maintaining overall room brightness.
14. Magnetic Board Accessories
Affix large metal panels to walls for holding pattern pieces, inspiration photos, and frequently referenced notes using decorative magnets.
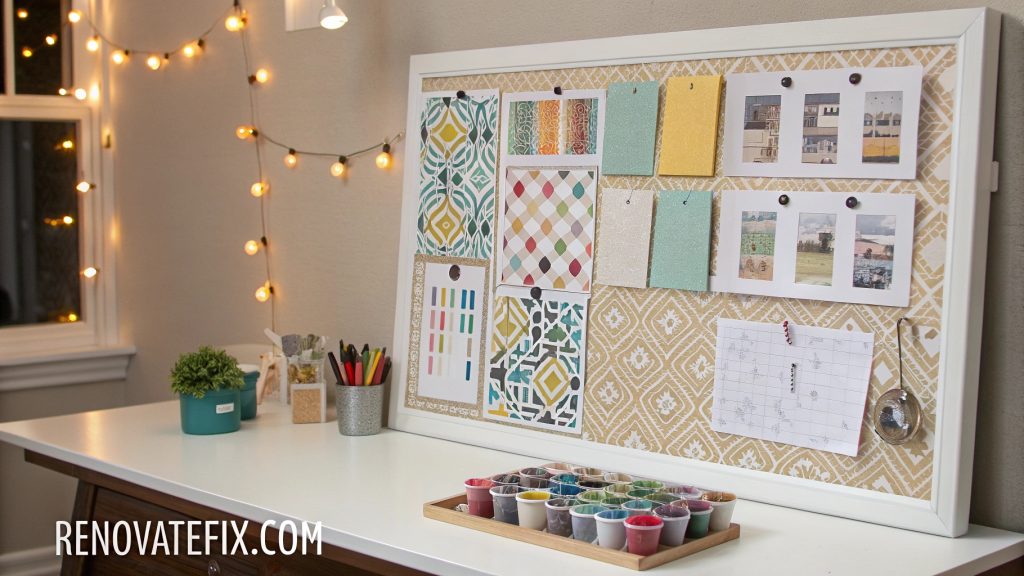
Position at eye level directly beside primary work areas for constant visual access during projects.
Metal surfaces also accommodate magnetic containers for small metal items like pins or paper clips.
This flexible system allows for constantly evolving displays without damaging walls.
15. Hidden Storage Ottoman
Place comfortable seating with lifting lids or pull-out drawers containing rarely used supplies or bulky materials near primary work zones.
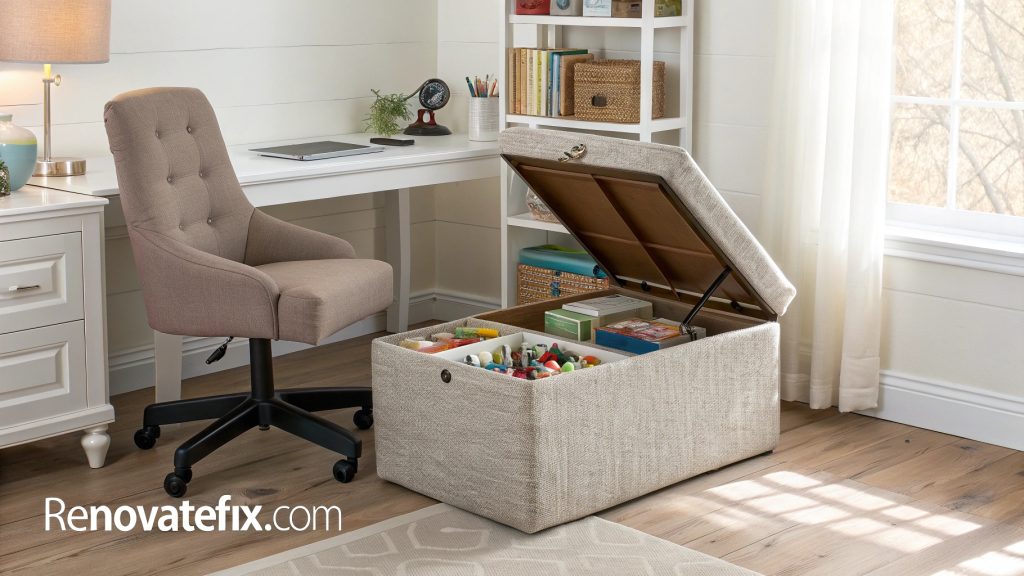
Select cushioned tops appropriate for additional seating during collaborative sessions while maintaining clean visual lines when closed.
Interior compartments feature removable dividers adapting to changing storage needs.
These dual-purpose pieces maximize function without sacrificing comfort or aesthetics.
16. Wall-mounted Fabric Rolls
Install horizontal dowels or curtain rods at varying heights for displaying and accessing fabric collections, wrapping papers, or vinyl sheets without creasing.
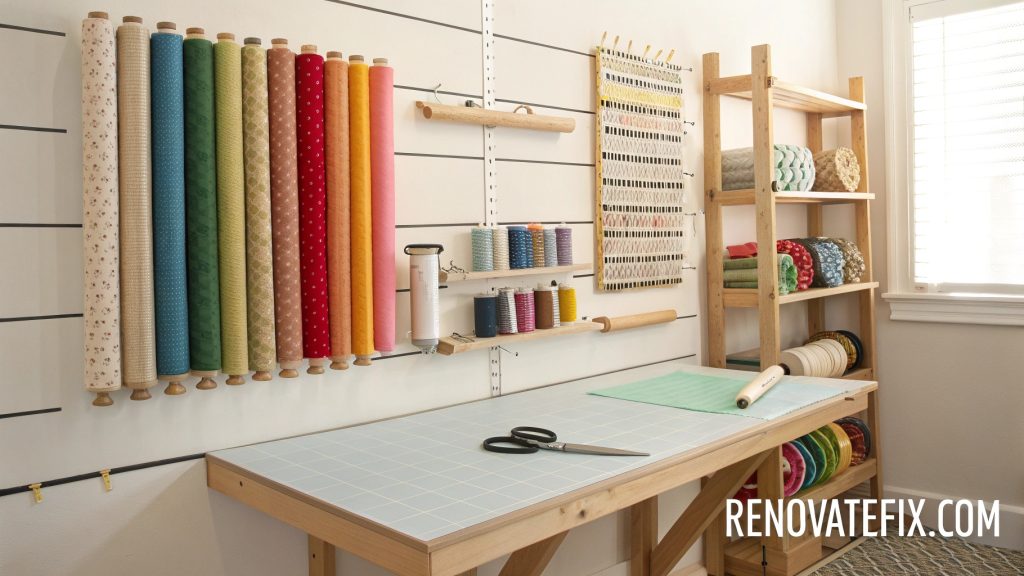
Position above secondary work surfaces dedicated to cutting and measuring activities.
Clear labeling on visible ends speeds selection during project planning phases.
This system showcases beautiful patterns as decorative elements while preserving material quality.
17. Modular Cubby System
Assemble customizable grid storage with mix-and-match components—some open for displaying beautiful supplies, others with doors concealing less attractive necessities.
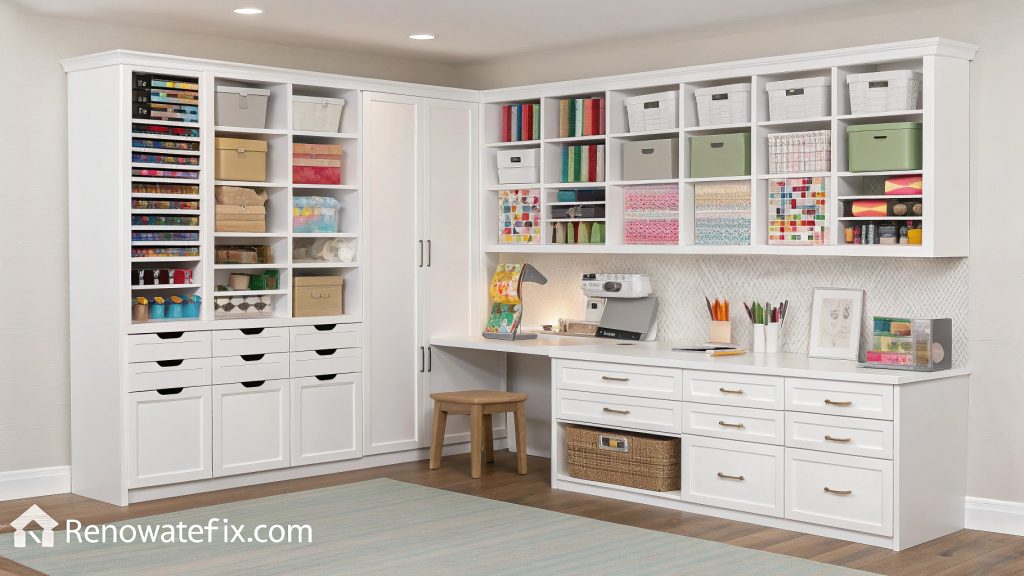
Arrange cubes to fit available wall space while creating visual balance through thoughtful color and texture combinations.
Reconfigure sections as collection grows or projects evolve. Well-designed systems can divide larger spaces into functional zones while providing substantial storage.
18. Closet Conversion Project
Remove doors from existing closets to create recessed crafting spaces with built-in shelving, task lighting, and compact work surfaces.
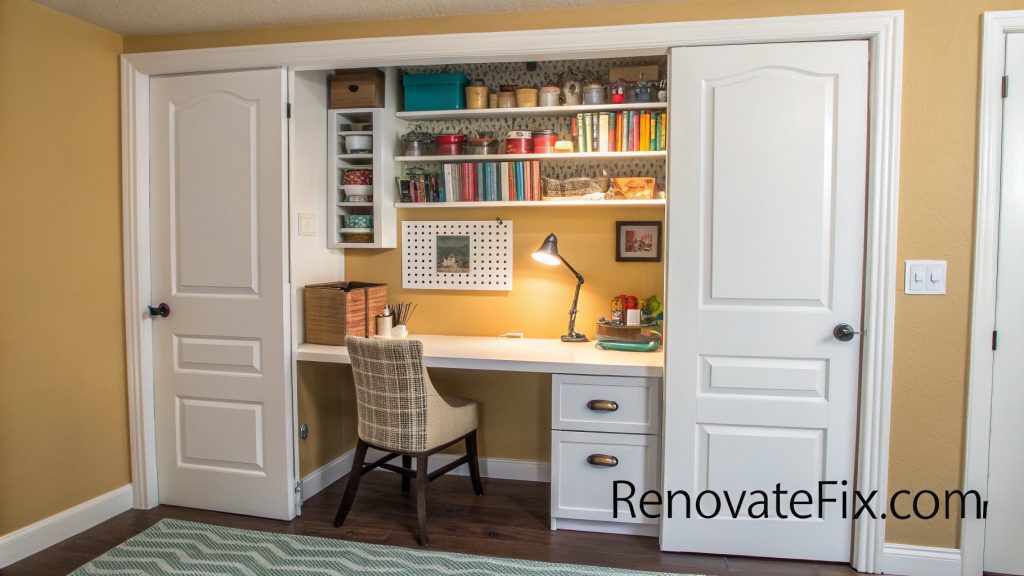
Add power outlets for equipment, plus hooks for frequently used tools along side walls.
Paint interior in bright colors contrasting with main room for visual interest.
This approach maximizes underutilized spaces while containing creative mess within defined boundaries.
19. Floating Desk Installation
Secure streamlined work surfaces directly to walls without leg supports, creating an illusion of space underneath for storing rolling carts or additional seating.
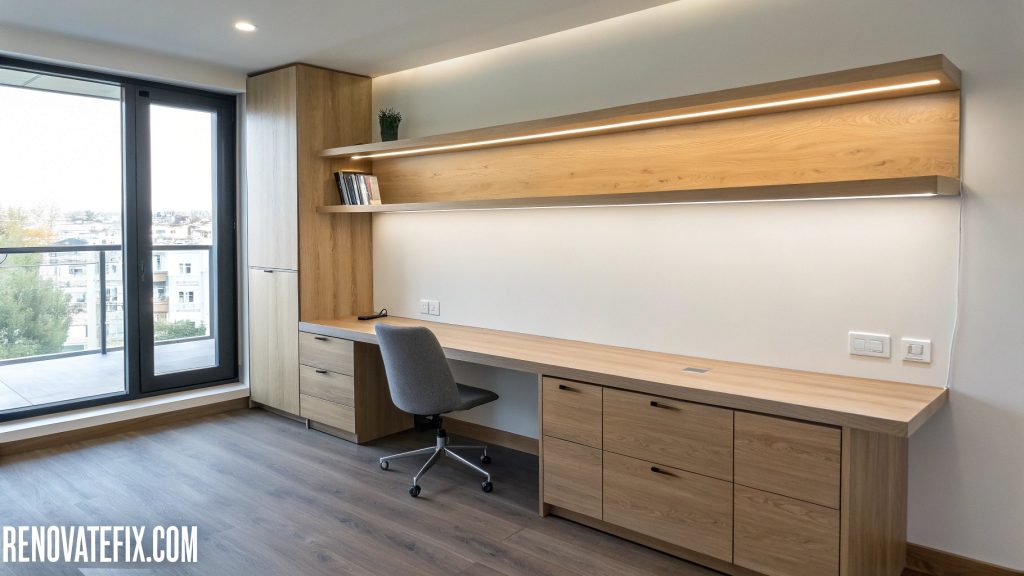
Reinforce mountings appropriately for weight-bearing capacity needed for your typical projects.
Position at optimal ergonomic heights for comfortable long-term use. This minimalist approach works particularly well in rooms with limited floor area.
20. Customized Drawer Dividers
Create personalized compartments within existing storage using adjustable dividers sized specifically for unique tools and materials.
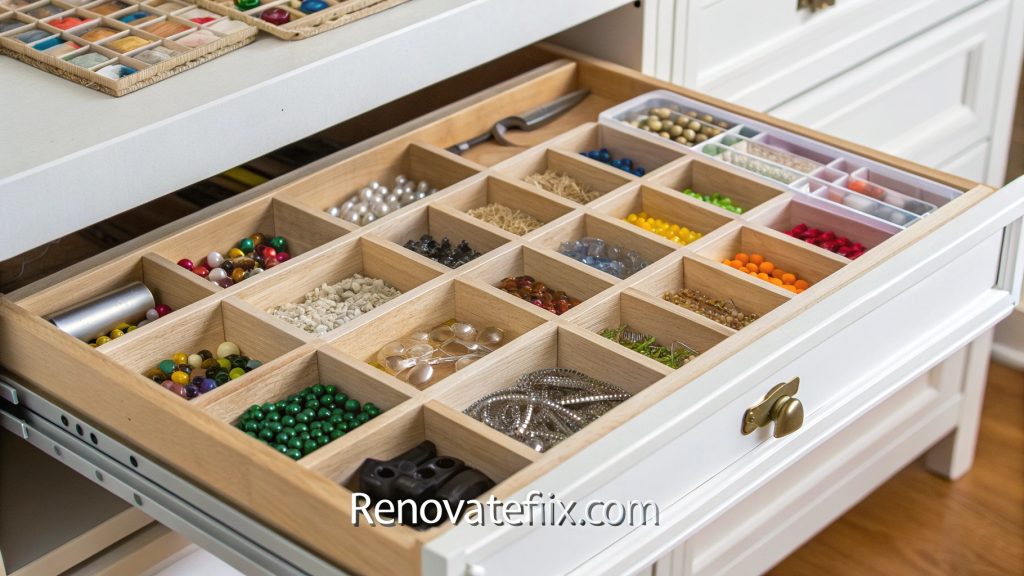
Measure items precisely before installing separators to minimize wasted space while ensuring everything has a designated location.
Label each section clearly for quick identification during inspired creative moments.
Regular reassessment keeps organization relevant as collections evolve over time.
21. Door-mounted Supply Rack
Utilize overlooked door surfaces by installing narrow shelving units or pocket organizers on hinged sides for storing lightweight, frequently accessed items.
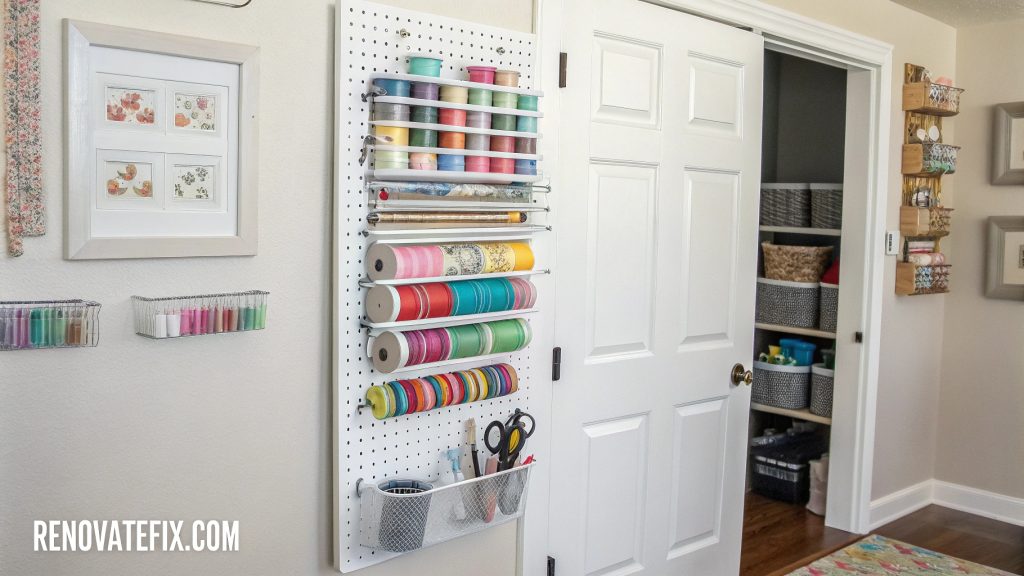
Select appropriate mounting methods preventing damage to doors while ensuring stability during opening and closing motions.
Position most-used supplies at eye level for quick access. This strategy gains valuable storage without consuming floor or wall space.
22. Upcycled Vintage Furniture
Repurpose antique dressers, library card catalogs, or apothecary cabinets as unique storage solutions adding character while providing specialized compartments for various materials.
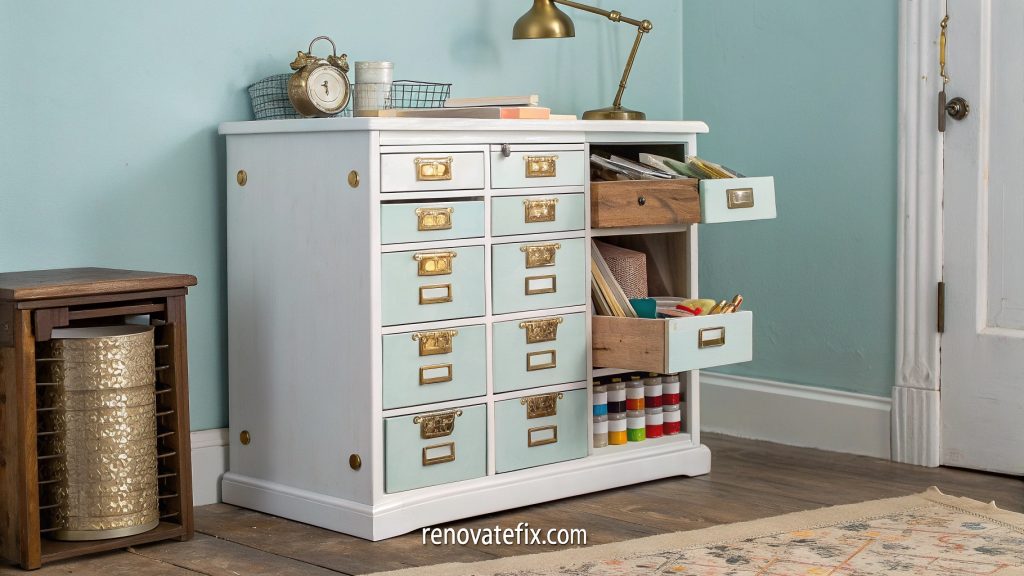
Preserve original hardware and finishes when possible or refinish to complement existing decor.
Shallow drawers work perfectly for paper, embellishments, or fabric samples.
These conversation pieces blend form and function through creative reuse.
23. Natural Light Optimization
Arrange primary work surfaces perpendicular to windows rather than directly facing them, preventing harsh glare while maximizing available daylight for accurate color work.
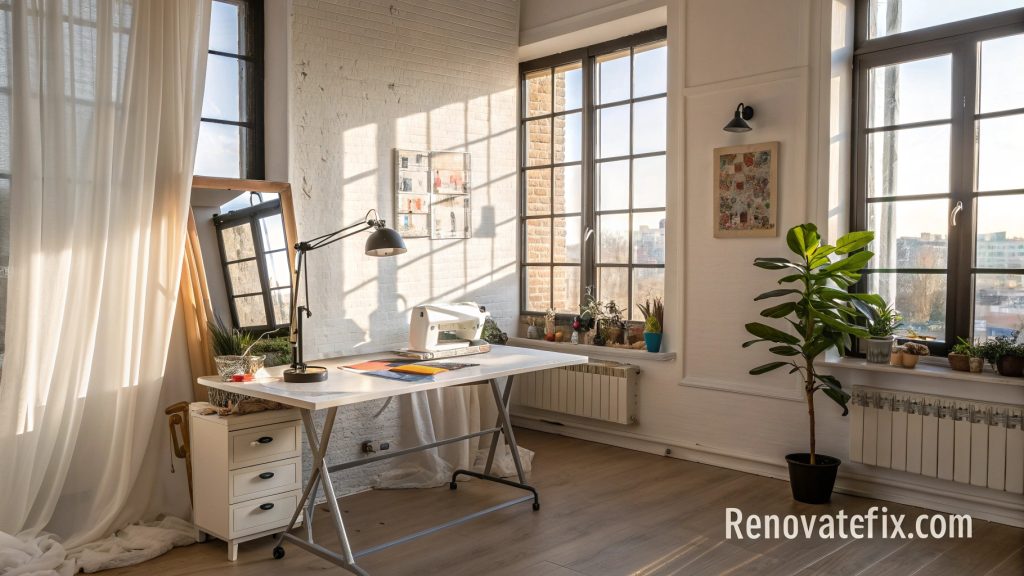
Install adjustable window treatments allowing precise control over brightness levels throughout changing seasons and times.
Position mirrors strategically to bounce light into darker corners. This thoughtful planning reduces eyestrain while minimizing electricity usage.
Conclusion
Creating your ideal craft room involves balancing practical organization with personal inspiration.
By implementing even a few of these innovative ideas, you’ll discover improved workflow, enhanced creativity, and greater enjoyment of your artistic pursuits.
Remember that the perfect space evolves gradually—start with foundational organization systems addressing your most frequent activities, then refine as you identify specific needs.
Your craft room should ultimately reflect your unique creative spirit while supporting the technical requirements of your preferred mediums.
With thoughtful planning and these versatile ideas, you’ll soon have a specialized space that both inspires new projects and streamlines your creative process.

